
The Qidi X-Max is a professional-grade FDM 3D printer designed for industrial-level printing with a build volume of 325x325x325 mm‚ delivering exceptional print quality and speed.
Featuring a fully enclosed design‚ it ensures stable temperature control and consistent results‚ making it ideal for advanced users seeking high-performance printing solutions.
Compatible with QIDI Print software‚ it supports Marlin firmware‚ offering precise control and customization for diverse materials‚ though it may present a steep learning curve for beginners.
The comprehensive user manual and online resources provide detailed guidance for setup‚ troubleshooting‚ and maintenance‚ ensuring a seamless experience for experts and hobbyists alike.
Overview of the Qidi X-Max 3D Printer
The Qidi X-Max 3D printer is a large-format‚ industrial-level FDM printer designed for high-performance printing. With a build volume of 325x325x325 mm‚ it offers ample space for creating large-scale projects. Its fully enclosed design ensures stable temperature control‚ reducing warping and improving print quality. The printer is compatible with QIDI Print software and supports Marlin firmware‚ providing precise control over printing parameters. It is ideal for professionals and advanced hobbyists‚ delivering fast and reliable results. The user manual and online resources guide users through setup‚ maintenance‚ and troubleshooting‚ making it a versatile tool for complex printing needs.
Key Features and Specifications
The Qidi X-Max 3D printer boasts a large build volume of 325x325x325 mm‚ making it suitable for industrial and professional applications. It features a fully enclosed frame for stable temperature control‚ reducing warping and ensuring consistent print quality. The printer supports a variety of filament types and is compatible with QIDI Print software‚ offering precise slicing and customization. With a robust build and advanced features‚ the X-Max 3 is designed for high-speed and high-accuracy printing‚ catering to both enthusiasts and professionals. Its specifications ensure durability and reliability‚ making it a top choice for demanding projects.
What’s Included in the Box
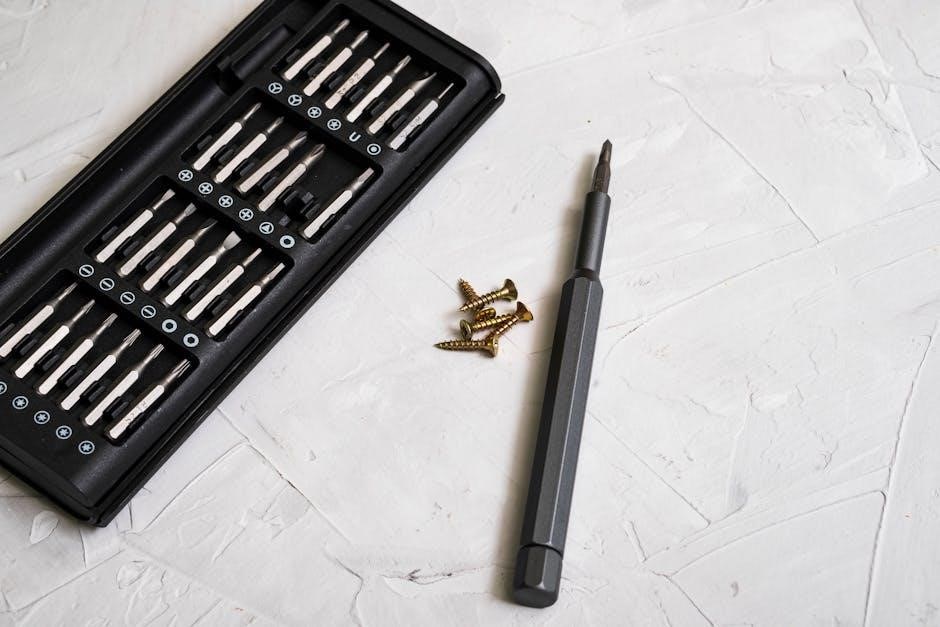
The Qidi X-Max 3D printer package includes the fully assembled printer‚ power supply‚ and a detailed user manual. Additional items comprise a spool of filament‚ necessary tools for assembly and maintenance‚ and spare parts like nozzles and belts. The package also includes a thermal conductive silicone grease for heat management and a set of Allen keys for adjustments. A quick start guide is provided to assist with initial setup and calibration. Online resources‚ such as video tutorials and firmware updates‚ are accessible through the Qidi website‚ ensuring comprehensive support for users.

Unboxing and Initial Setup
The Qidi X-Max arrives fully assembled with a power supply and detailed manual. Initial setup involves power configuration‚ safety checks‚ and calibration‚ guided by the manual and online resources.
Unboxing and Inventory of Parts
Upon unboxing the Qidi X-Max‚ you’ll find the printer pre-assembled‚ reducing setup time. The package includes essential components like the power supply‚ filament guide‚ tools‚ and a detailed manual.
The box also contains accessories such as belts‚ spare nozzles‚ and a USB cable‚ ensuring you have everything needed to start printing right away. Inventory all parts before proceeding.
Physical Assembly and Setup
The Qidi X-Max arrives partially assembled‚ requiring minimal effort to complete the setup. Begin by attaching the gantry to the base and connecting the cables as per the manual. Ensure all screws are tightened securely‚ and the frame is stable. Use the provided tools to adjust the belts and wheels for proper alignment and tension.
Next‚ install the extruder and hotend‚ making sure they are correctly aligned with the print bed. Level the bed carefully to ensure even adhesion. Double-check all connections and follow the manual’s guidance for a smooth setup process. Proper assembly is crucial for optimal performance and print quality.
Power Supply Configuration and Safety Precautions
Before powering up the Qidi X-Max‚ ensure the power supply is configured correctly. Verify the voltage matches your region (110V or 220V) and connect the printer to a stable power source. Avoid using extension cords or loose connections to prevent electrical hazards. Always turn off the power before performing maintenance or adjustments. Keep the printer away from flammable materials and ensure good ventilation. Never reach inside the printer while it is operational‚ as moving parts and hot components can cause injury. Follow all safety guidelines in the user manual to ensure safe and reliable operation.

First Printing Experience
Begin by installing QIDI Print software‚ ensuring compatibility with your X-Max. Prepare your first print by slicing models and adjusting settings. Load filament carefully‚ following guides for smooth operation.
Installing and Configuring QIDI Print Software
Download and install QIDI Print software from official sources. Ensure compatibility with your X-Max model. Launch the software and navigate through the setup wizard to configure basic settings. Import your 3D model and adjust slicing parameters such as layer height‚ infill density‚ and support structures. The software supports Marlin firmware‚ ensuring seamless integration with your printer. Refer to the user manual or online tutorials for detailed guidance. Proper configuration is essential for achieving optimal print quality and minimizing errors during your first printing experience.
Preparing and Slicing Your First Print
Import your 3D model into QIDI Print software‚ ensuring it is in STL or GCode format. Orient the model on the virtual print bed to minimize support material. Adjust settings like layer height‚ infill density‚ and support structures based on your print requirements. Enable features like brims or rafts for improved adhesion. Review the sliced preview to ensure proper layer alignment and material usage. Once satisfied‚ export the GCode file to your printer. This step ensures your first print is optimized for quality and performance‚ leveraging the Qidi X-Max’s advanced capabilities.
Loading Filament and Starting Your First Print
Insert the filament into the extruder following the manual’s guidance. Preheat the hotend to the recommended temperature for your filament type. Once heated‚ manually feed the filament through the extruder until it extrudes cleanly. Navigate to the print menu on the touchscreen‚ select your prepared GCode file‚ and start the print. Monitor the initial layers to ensure proper adhesion and extrusion. Adjust settings if necessary. The Qidi X-Max’s intuitive interface simplifies this process‚ ensuring a smooth start to your printing journey.
Maintenance and Upkeep
Regular cleaning of the print bed and nozzle‚ lubrication of moving parts‚ and timely replacement of worn components ensure optimal performance and longevity of the Qidi X-Max.
Cleaning the Print Bed and Nozzle
Regular cleaning of the print bed and nozzle is essential for maintaining print quality and preventing material buildup. Use isopropyl alcohol and a soft cloth to wipe the bed‚ ensuring no residue remains. For the nozzle‚ gently scrub with a brass brush while heated to remove debris. Avoid using harsh chemicals or abrasive materials to prevent damage. Always allow the nozzle and bed to cool before cleaning to avoid burns or warping. Repeat this process daily and after switching filaments to ensure optimal performance and minimize the risk of clogs or adhesion issues.
Lubricating Moving Parts
Regular lubrication of moving parts ensures smooth operation and prevents wear. Apply silicone-based grease to the X‚ Y‚ and Z axes’ rails and pulleys. Use a clean cloth to wipe off excess lubricant. Lubricate every 100 hours of operation or when noise increases. Avoid using oil-based products‚ as they may attract dust. Gently move the axes after applying grease to distribute it evenly. Proper lubrication enhances print accuracy and extends the printer’s lifespan. Always refer to the user manual for specific lubrication points and intervals to maintain optimal performance and reduce mechanical stress on moving components.
Replacing the Hotend and Nozzle
To replace the hotend and nozzle on the Qidi X-Max‚ start by preheating the printer to ensure all components are ready for disassembly. Disconnect the hotend cables safely to avoid damage. Remove the old nozzle by unscrewing it from the hotend. Inspect the heater block for residual filament and clean it thoroughly. Install the new nozzle‚ ensuring it is securely tightened. Apply thermal conductive silicone grease to the heater block for optimal heat transfer. Reconnect the cables and test the printer at a low temperature to confirm proper function. Always refer to the user manual for specific instructions and safety precautions during this process.

Troubleshooting Common Issues
Troubleshooting common issues with the Qidi X-Max involves identifying symptoms‚ checking printer settings‚ and referring to the user manual for specific solutions and maintenance tips.
Identifying and Resolving Print Quality Issues
Print quality issues with the Qidi X-Max can often be traced to calibration‚ material settings‚ or hardware misalignment. Start by ensuring the print bed is level and properly calibrated.
Check belt tension and verify that the extruder is functioning correctly. If layers are misaligned‚ adjust the X or Y offsets in the printer settings;
For stringing or oozing‚ increase retraction distance or enable cooling fans. Under-extrusion may indicate incorrect temperature settings or a worn-out nozzle.
Consult the user manual for specific troubleshooting guides‚ as detailed solutions vary based on the issue and material used. Regular maintenance can prevent many quality-related problems.
Addressing Filament Feeding and Extrusion Problems
Filament feeding issues can arise from clogged nozzles‚ tangles‚ or incorrect tension settings. Ensure the filament path is clear and free from obstructions;
Check the PTFE tubing for kinks or damage and verify that the extruder gear is clean and functioning properly. Adjust the tension on the extruder idler to prevent slippage.
If under-extrusion occurs‚ increase the extrusion multiplier in the slicer software or clean the nozzle with a replacement or cleaning filament.
For persistent issues‚ refer to the user manual for guidance on replacing the nozzle or adjusting firmware settings to optimize extrusion performance.
Diagnosing and Fixing Hardware Malfunctions
Hardware malfunctions on the Qidi X-Max often relate to sensors‚ belts‚ or electrical connections. Start by checking the motherboard for loose connections and ensuring all cables are securely attached.
If the print bed or axes malfunction‚ inspect the limit switches and belts for proper alignment and tension. Refer to the motherboard diagram in the manual for guidance.
For issues with the hotend or extruder‚ consult the manual for instructions on replacing the thermal conductive silicone grease or adjusting the extruder gear.
Update the firmware if hardware components are not recognized‚ and ensure all moving parts are properly lubricated to maintain smooth operation.
Addressing these issues promptly prevents further damage and ensures optimal printing performance.

Advanced Features and Upgrades
The Qidi X-Max supports firmware upgrades for enhanced performance and compatibility with new features. Users can customize printer settings for specific materials and optimize print quality through advanced slicing software.

Upgrading Firmware for Enhanced Performance
Upgrading the firmware on your Qidi X-Max is essential for unlocking new features‚ improving performance‚ and ensuring compatibility with the latest software and materials; The process involves downloading the latest firmware version from Qidi’s official website and transferring it to the printer using a USB drive or through Wi-Fi‚ depending on the model.

Before upgrading‚ ensure the printer is powered on and connected to a stable power source. Backup your current settings to avoid losing custom configurations. Follow the step-by-step instructions in the user manual carefully to prevent any malfunctions. Always use firmware provided by Qidi to maintain reliability and safety.
Customizing Printer Settings for Specific Materials
Customizing printer settings for specific materials ensures optimal print quality and compatibility. For materials like PLA‚ PETG‚ and ABS‚ adjust parameters such as extruder temperature‚ bed temperature‚ and print speed directly in the QIDI Print software.
Consult the user manual for recommended settings‚ and fine-tune based on material properties. For advanced users‚ experimenting with retraction settings and cooling fans can enhance results. Always refer to the material manufacturer’s guidelines for precise calibration.

After-Sales Support and Resources
The Qidi X-Max comes with extensive after-sales support‚ including access to user manuals‚ quick start guides‚ and online tutorials. Technical support is available via email and phone.
Accessing Technical Support and Online Resources
Users of the Qidi X-Max can access comprehensive technical support through various channels. The official Qidi website offers downloadable resources‚ including the user manual‚ firmware updates‚ and troubleshooting guides. Additionally‚ online forums and communities provide peer-to-peer support‚ where users share tips and solutions. For direct assistance‚ customers can contact Qidi’s support team via email or phone. The company also hosts tutorial videos on platforms like YouTube‚ covering topics from initial setup to advanced customization. These resources ensure that users can resolve issues efficiently and maximize their printing experience.